Like it?
Star it!
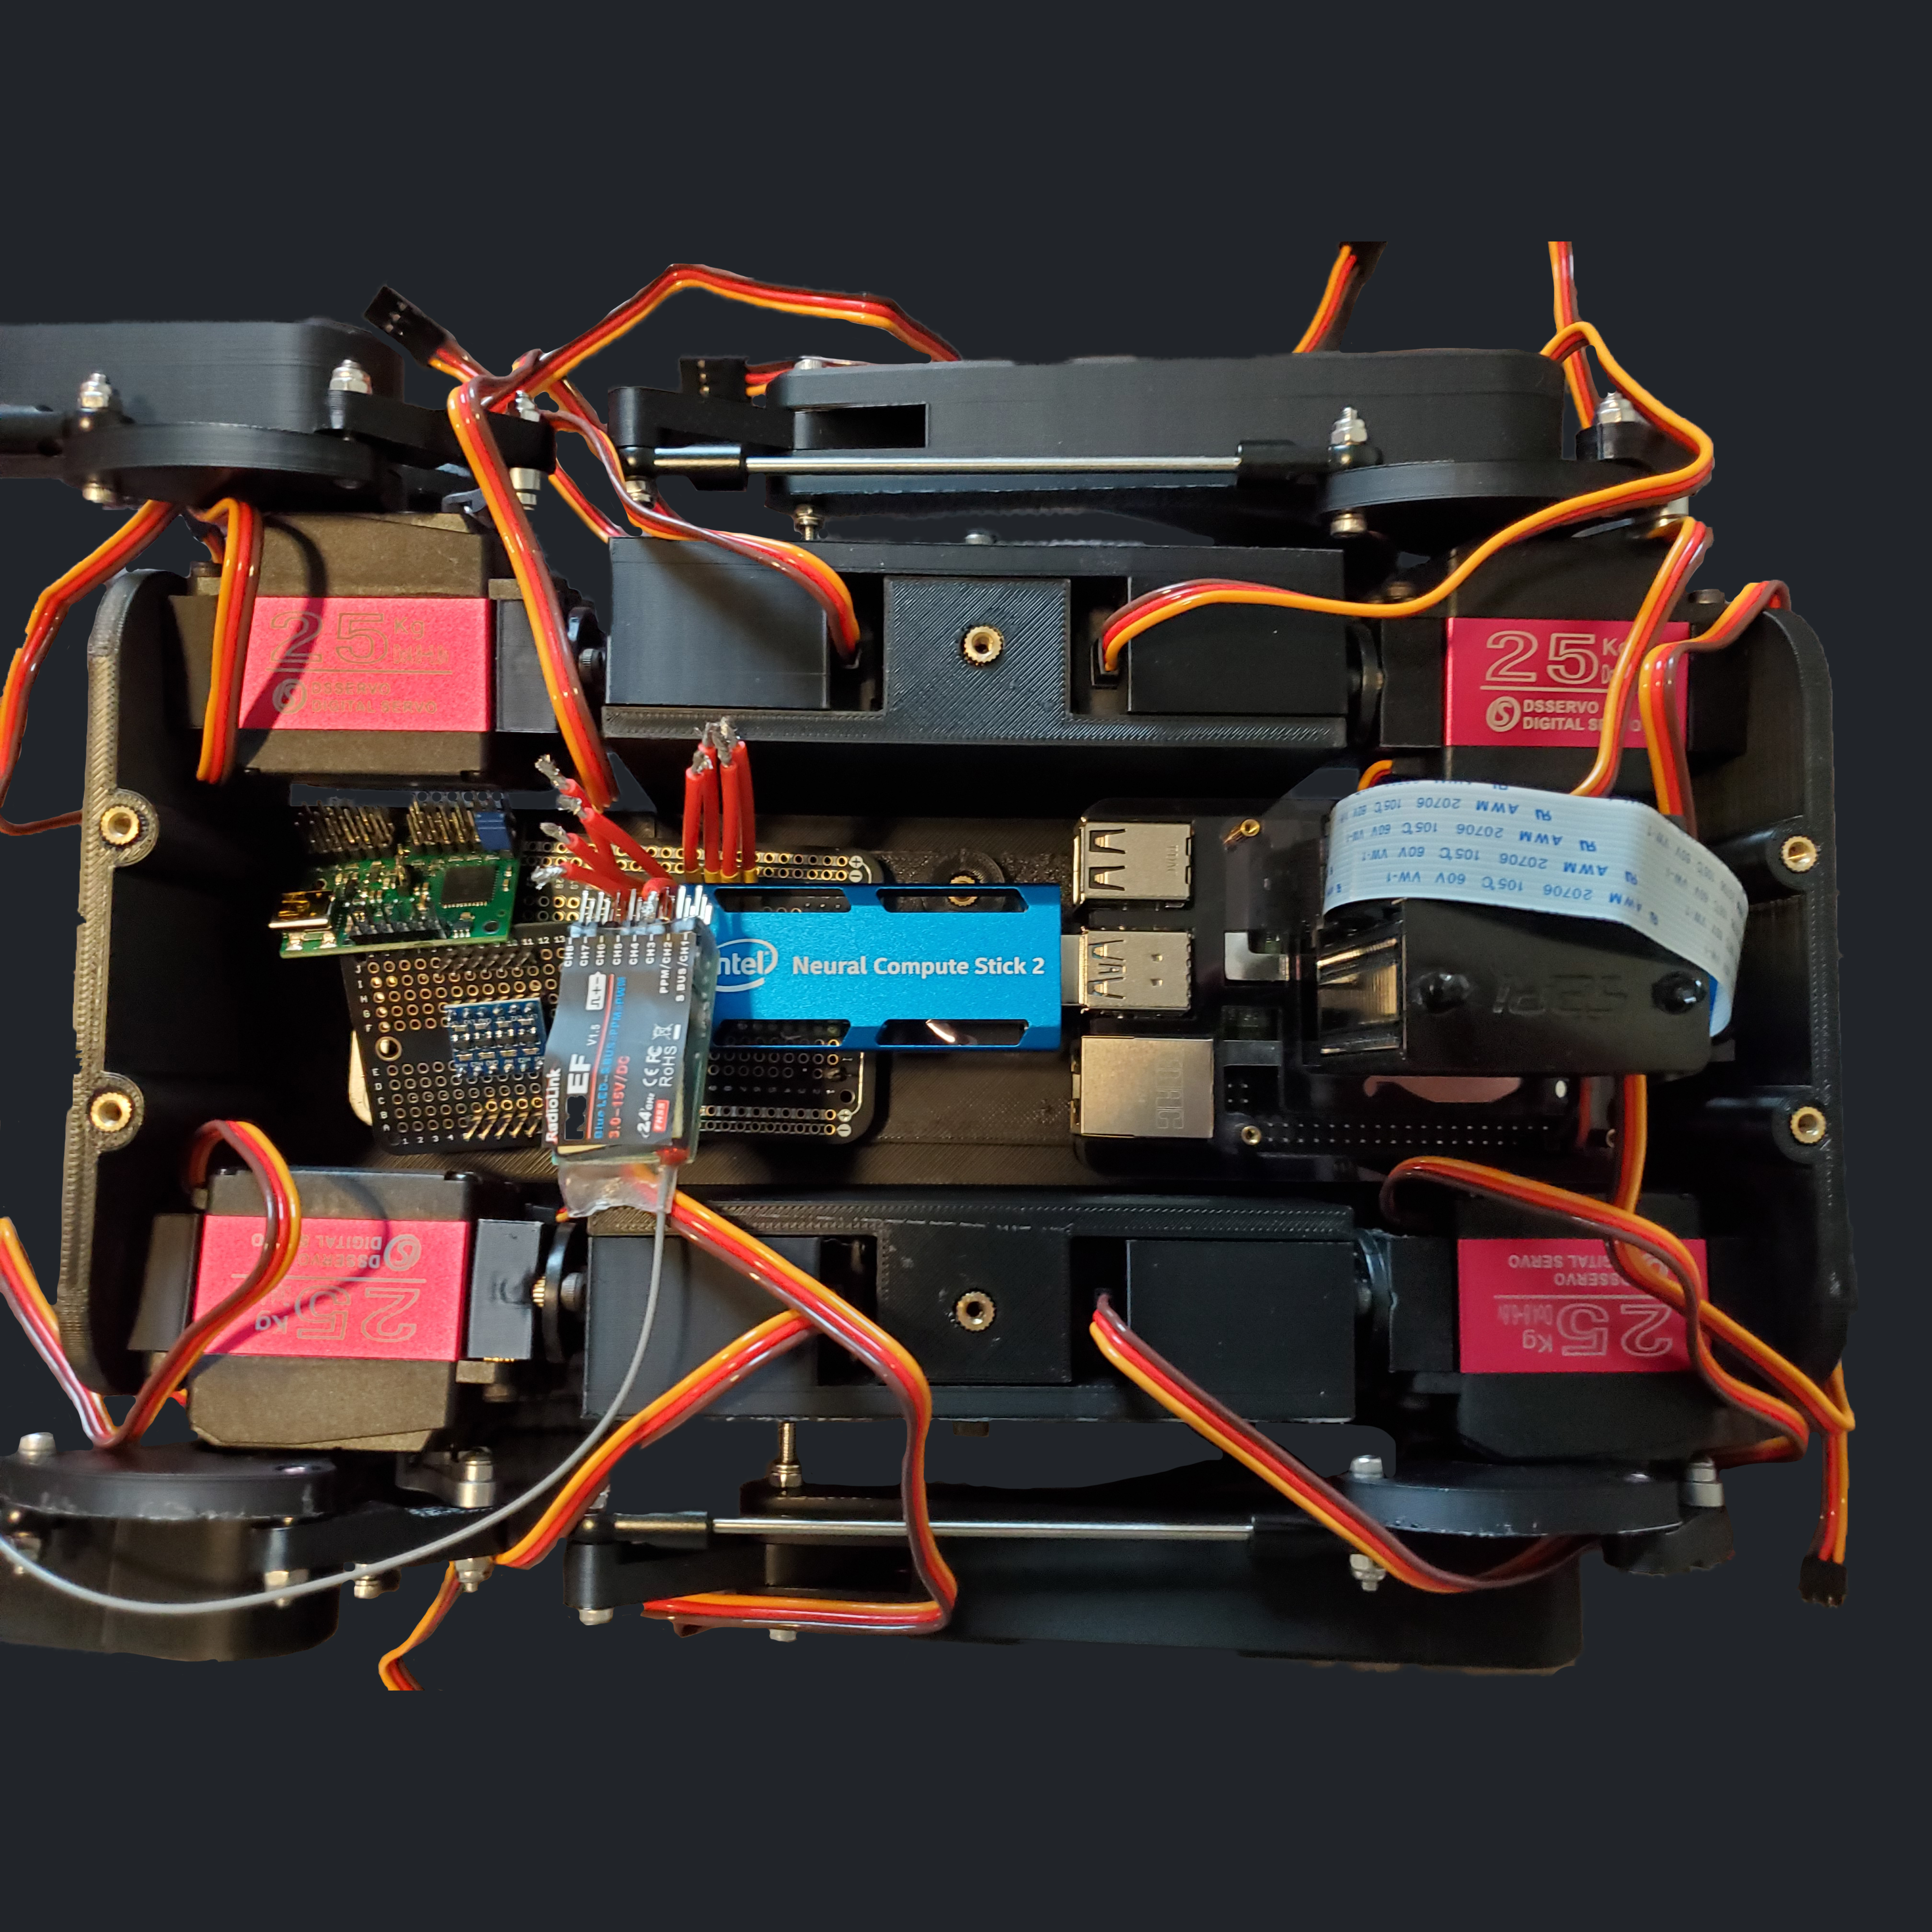
'Edge AI Module' is a hardware module I built beginning in April 2024 that allows me to operate robotic configurations with the same powerful electronic 'heart', and comes with a fan, a maestro, a TPU accelerator, a full Linux environment, a camera, and an r/c receiver
Hardware: RaspberryPi 4B, 12-channel Pololu Maestro, RadioLink R/C receiver and Remote, Intel NCS2, Picamera Module 3, 3.3V fan, and two buck converters
Software: Python, Assembly, OpenVino, OpenCV, and Linux Debian OS
Libraries: OpenVINO, OpenCV, NumPy, RPi.GPIO, pigpio, pyserial, threading, queue, subprocess, time, logging, os, signal, socket, termios, tty, sys
While working on my robotic dog project Athena, I slowly began to realize that I was going to need to create my own way to manage all PCB's and devices that would be connected to the robot
My problems included the NCS2 possibly overheating, to needing a way to accommodate the Picamera Module 3, to the fact that the RadioLink R/C receiver didn't even have any mounting screws, and then finally, incorporating the RaspberryPi 4B and possibly all the original electronics from the open-source platform I based Athena off of
With so many individual needs adding up, I decided that I might as well create a module that could provide all the functionalities I needed, whilst also remaining robust enough to be used in other projects

After measuring out all the original electronics, as well as my additions, and then designing a three-layered 'box' to hold all the electronics in Autodesk Fusion, I arrived at my Edge AI Module Mk-1
This design, nestled perfectly within Athena's chest, was a good start and held all the electronics I then thought I would need, but it had its flaws
It lacked any kind of air flow, something the NCS2 would need, the wiring for the servo motors definitely needed improvement as wires had to run through unplanned channels, and it accommodated the Teensy 4.1 and the logic level converter, components I did not need
Edge AI Module Mk-2 was a notable redesign of Mk-1, in that now it provided airflow from a 3.3V fan, and was built with the clarity as to what electrical components I actually needed without any guess work, leading to the upper 2 PCB platforms being completely overhauled
This newly acquired project clarity gave me the confidence to actually start programming the on-board Linux environment to start taking in commands from the R/C receiver, a task that proved surprisingly difficult
After toiling for about 2 weeks in my attempts at trying to receive instructions via the RadioLink remote controller, I finally arrived at a working solution that worked with the use of PWM signals and decoding the subsequent received bits into human-readable instructions
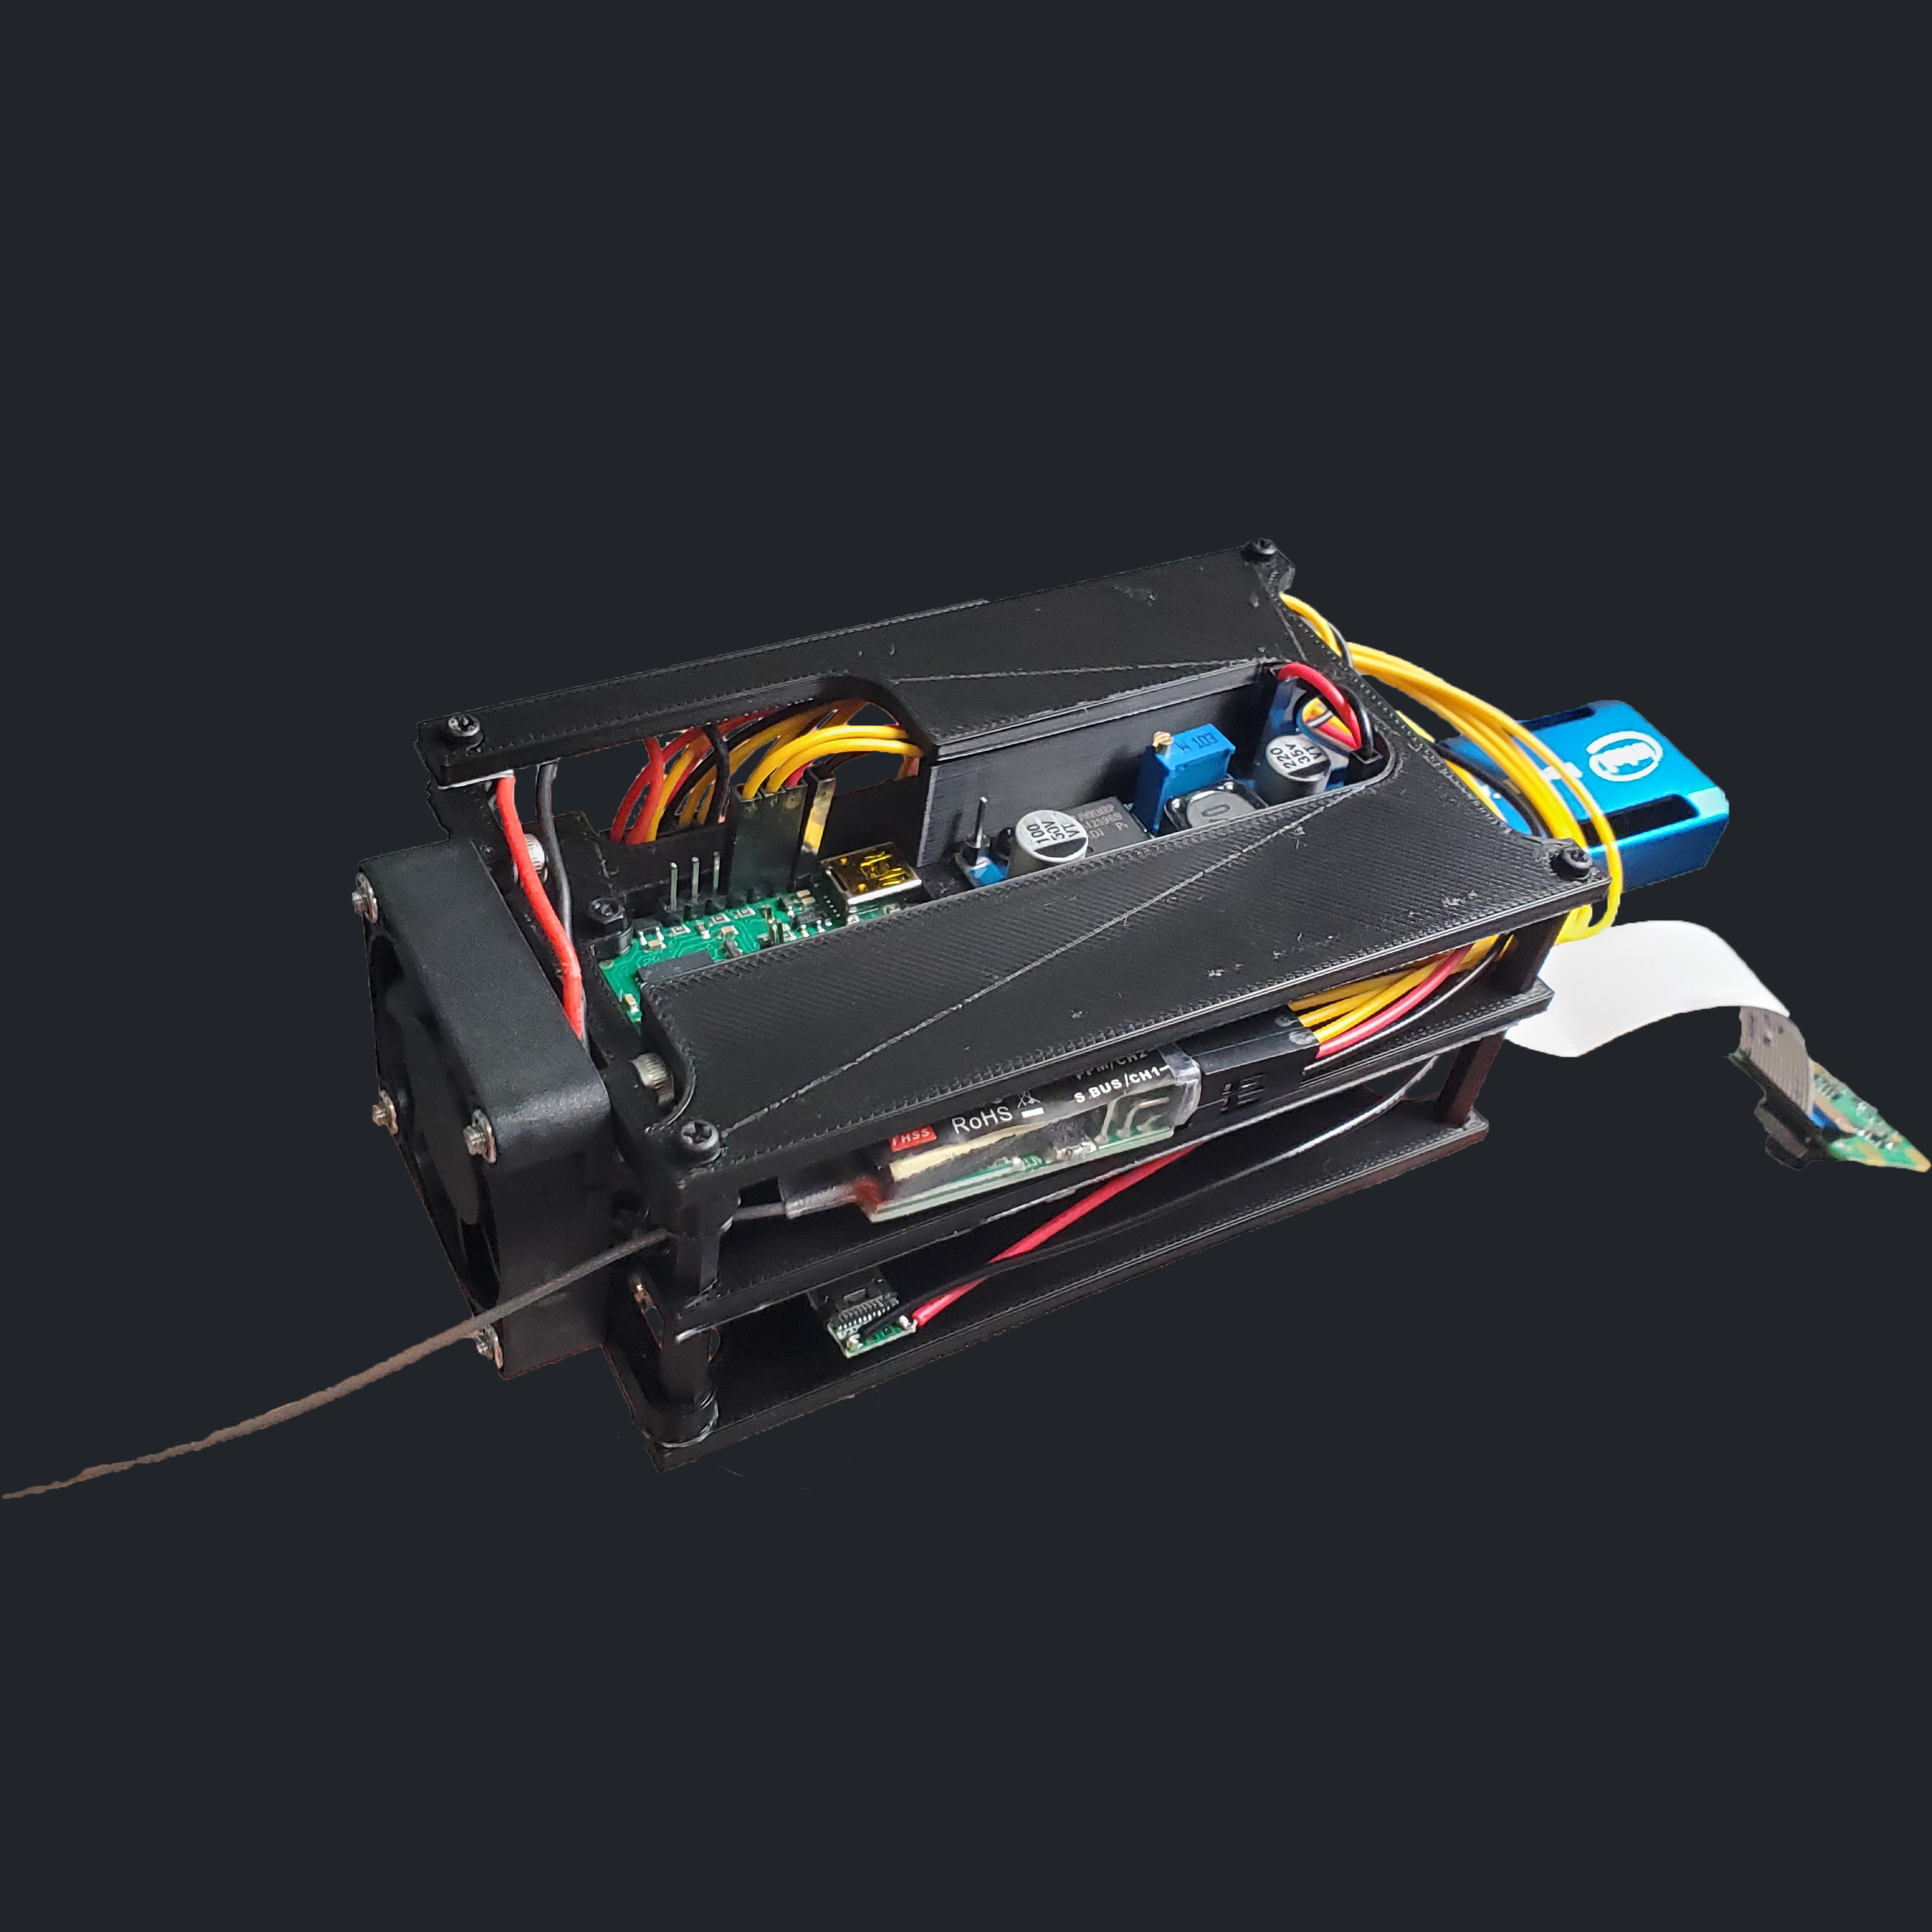
After my success in getting custom software to work with Mk-2, the next trial would be to get the entire system under battery power, which gave me the opportunity to learn some more about electrical engineering
Having worked with PWM signals and the logic level converter before this stage, I knew that voltage would be a looming concern, as the RaspberryPi 4B could only handle 5V, whereas my power plant was 7.4V at its lowest
This prompted me to add a buck converter to the module, which allowed the battery to be stepped down to 5V at the price of increasing amperage; a very convenient trade-off when you have a maestro, a camera, an R/C receiver, a fan, and a TPU accelerator all wired up to a single RaspberryPi
Mk-3 was very close to the finish line, however I made a mistake: I did not account for any possible voltage requirements regarding the motors and/or servos that would be connected to the 12-channel Pololu Maestro
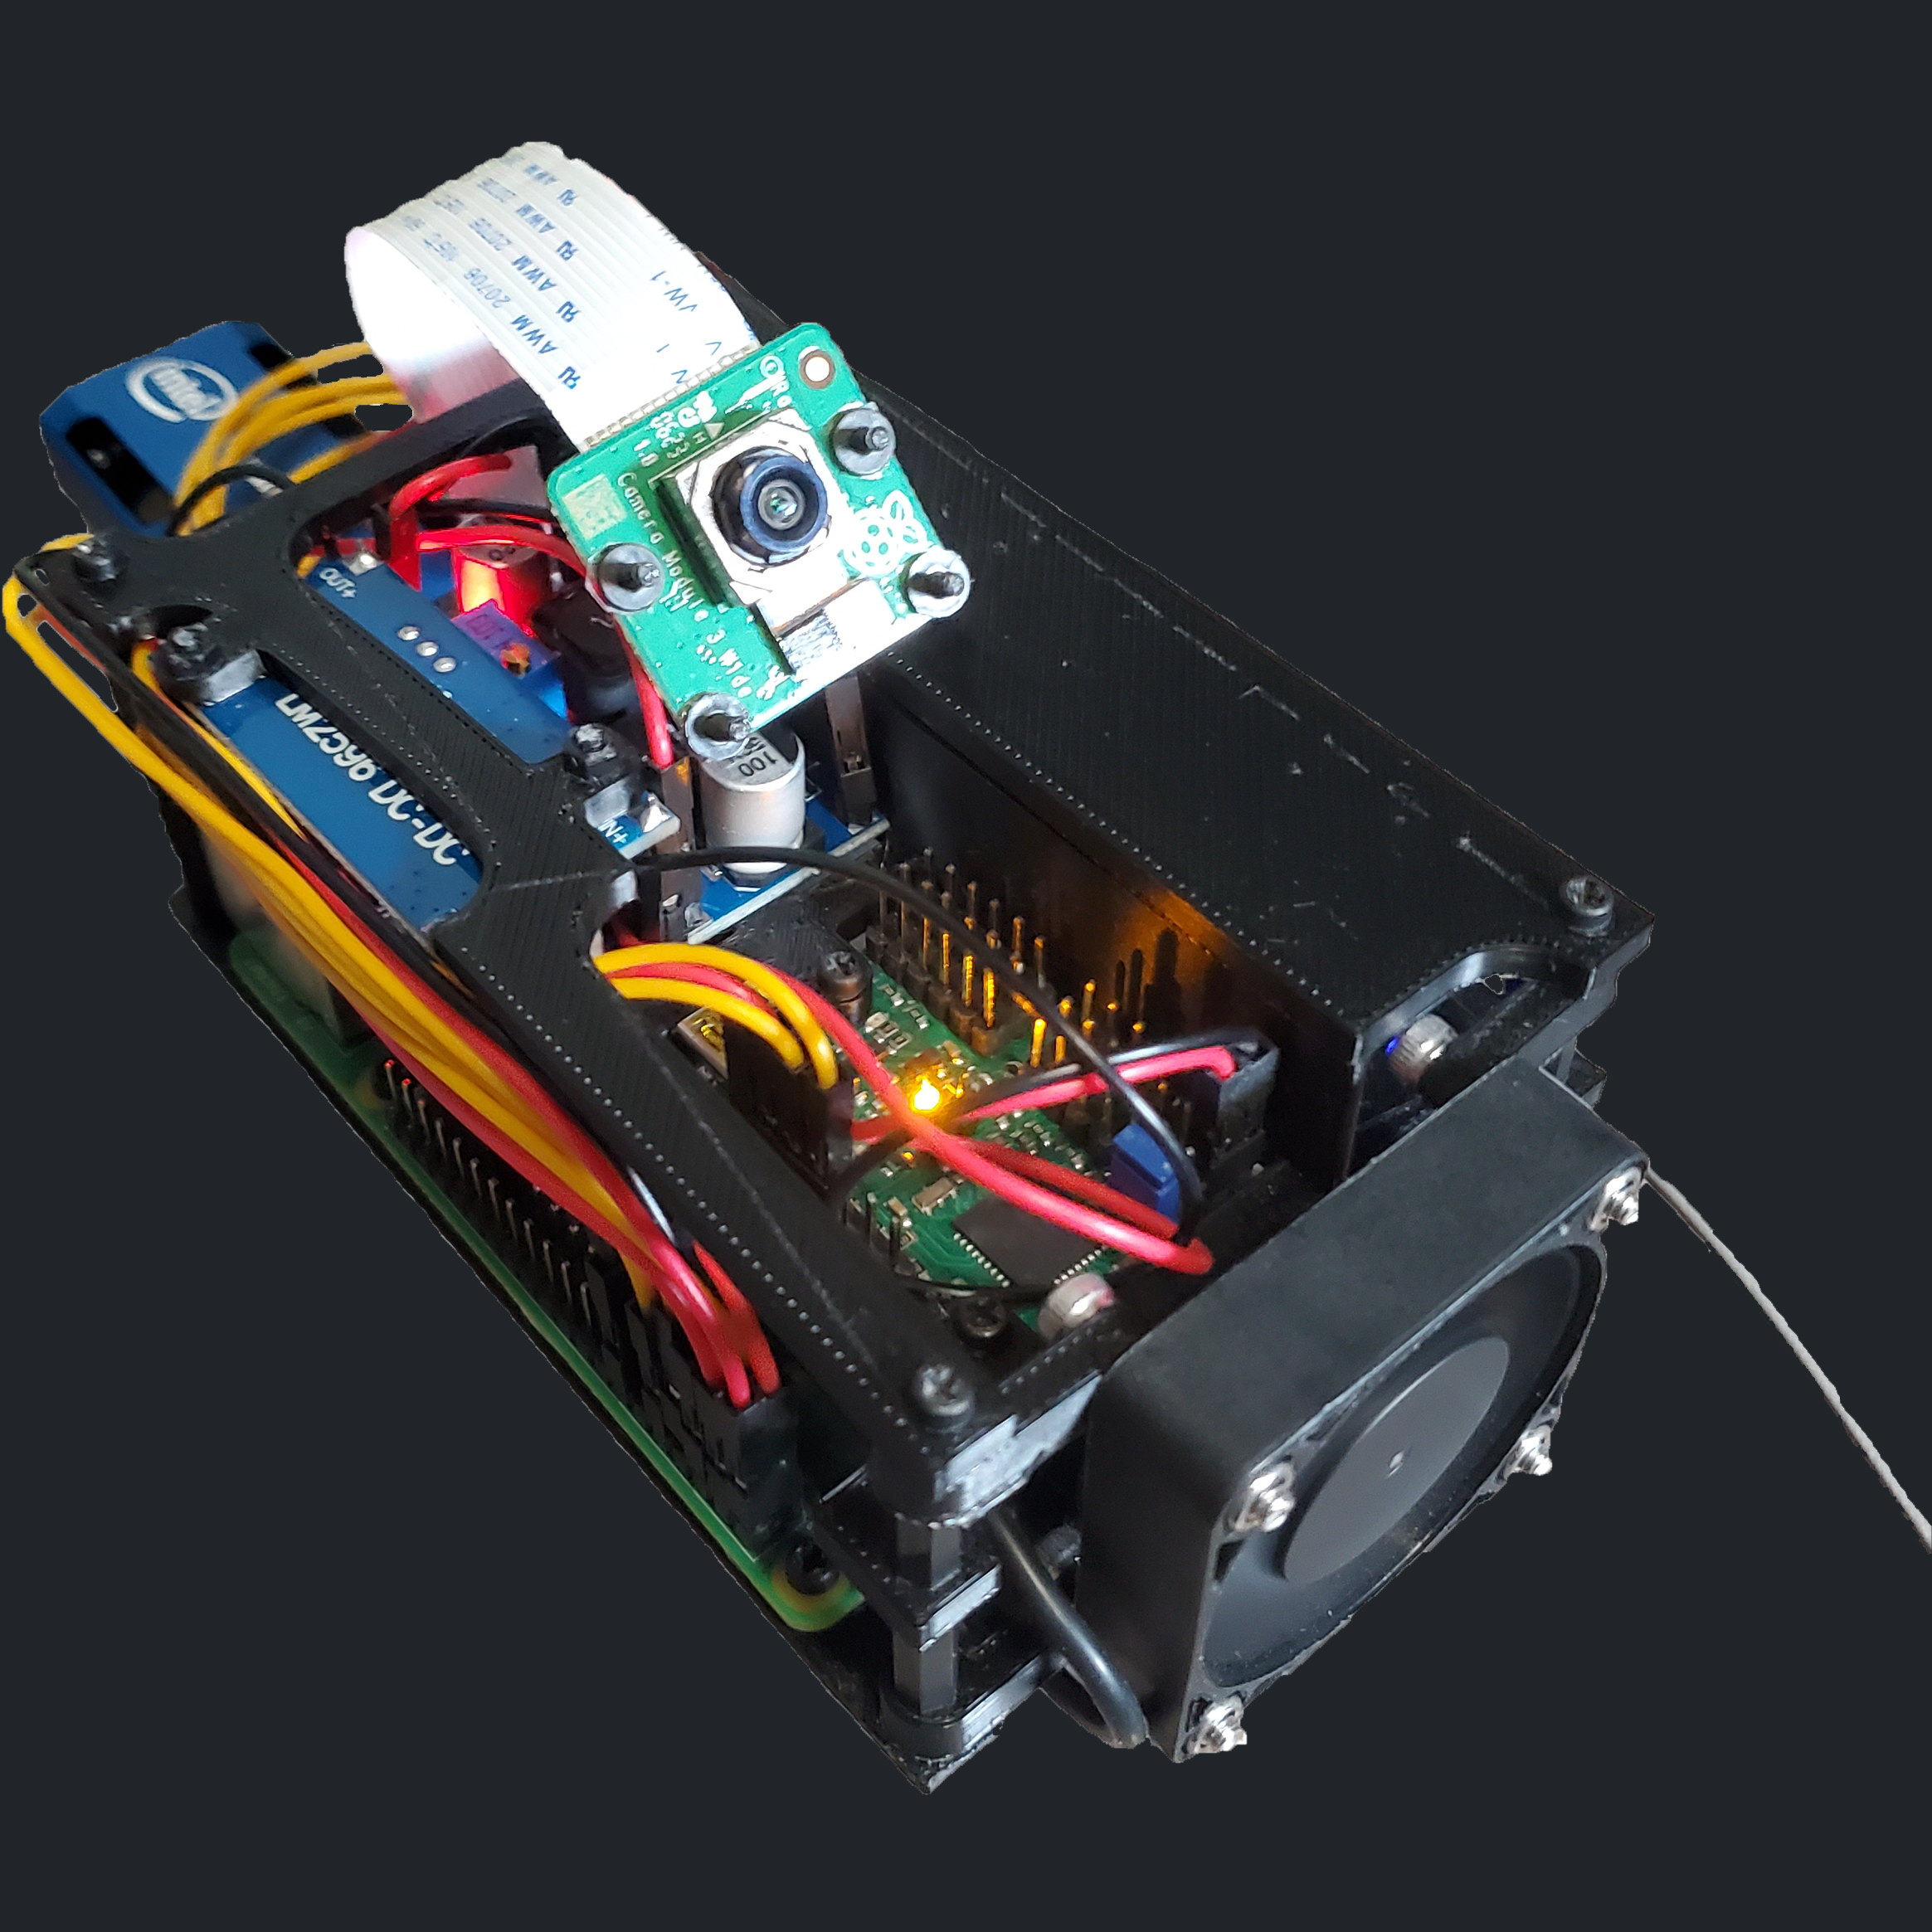
Mk-4, my current and likely final iteration of the Edge AI Module, addresses this, with its added upside-down buck converter attached to the uppermost PCB platform
With this addition, the module is now capable of handling the voltage requirements of the maestro, as well as the voltage requirements of the RaspberryPi and its peripherals, completely independently
Mk-3 was very close to the finish line, however I made a mistake: I did not account for any possible voltage requirements regarding the motors and/or servos that would be connected to the 12-channel Pololu Maestro
Mk-4, my current and likely final iteration of the Edge AI Module, addresses this, with its added upside-down buck converter attached to the uppermost PCB platform
With this addition, the module is now capable of handling the voltage requirements of the maestro, as well as the voltage requirements of the RaspberryPi and its peripherals, completely independently
The Intel Movidius NCS2, when it released, was admittedly a mess; there was little to no useful documentation on how to get it to work, and when you pair that with a retail price at $200, you can see why these TPU's were discontinued (and why as of writing, you can get one for as low as $50 on eBay)
That is actually the beauty of this module, as because my mentor Omar Ferrer and I managed to get it to work, I now have an incredibly powerful and cheap platform that I can use to spearhead my future in robotics (albeit with proprietary hardware)
With this module, I hope to re-immerse myself into the world of robotics, a place I have not been to since the early 2010's as a child building Lego Technic with my brother
After its use in my robot dog Athena, who knows where this module will take me? Zeppelins? Submarines? Smart cameras? Perhaps another, more capable robot dog? Who knows?
Whatever the case, I can count this module as another wonderful learning experience, and an exciting stepping stone in my journey towards learning more about AI and its many applications
printf("-Matthew Thomas Beck");